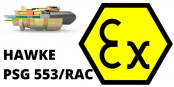
Correct Installation of Hawke Cable Glands
Published 16 May 2025

Thorne & Derrick | Distributed from Stock | Approved Supplier | UK & Export Sales
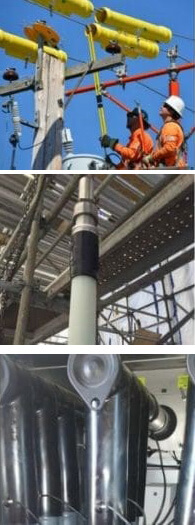
Hawke Cable Glands Installation
Installing Hawke cable glands correctly is essential to ensure the integrity, safety, and performance and cable termination of your LV MV HV electrical systems—especially in hazardous environments like oil & gas, petrochemical and industrial sectors.
In this guide, we’ll walk you through the correct method for installing Hawke cable glands, share common mistakes to avoid, and explain why proper installation matters.
Step-by-Step: How to Install Hawke Cable Glands Correctly
1. Select the Right Cable Gland
Identify the cable type and choose the correct Hawke gland suited to both your cable and application. For example:
-
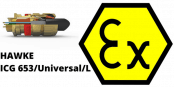
501/453/Universal – for unarmoured cable
-
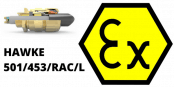
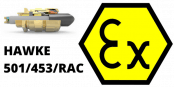
501/453/RAC – for armoured cable
Confirm compatibility with:
-
Cable diameter
-
Armour type (SWA, braid, tape, etc.)
-
Zone rating (Zone 1, Zone 2)
2. Prepare the Cable
-
Strip the cable sheath as specified
-
Ensure no damage to internal conductors or armour
-
Trim and shape armour to fit cleanly inside the gland
3. Assemble the Hawke Cable Gland
Follow Hawke’s installation sequence precisely. Key components include:
-
Entry item
-
Inner and outer seals
-
Armour cone and clamping ring (for armoured cables)
-
Compression nut
Install in the correct order and apply any IP sealing washers where required.
4. Tighten & Secure
Use two spanners:
-
One to hold the gland body
-
One to tighten the compression nut to the recommended torque
This ensures:
-
Proper grip on the cable
-
Correct compression of sealing elements
-
Safe electrical continuity and strain relief

The cable gland is permanently marked with various lines/numbers indicating the correct tightening level related to the cable diameter. Following the relevant cable gland Installation Instructions, the back seal should be tightened until a seal is formed on the cable outer sheath and then tightened one further turn
5. Final Cable Gland Checks
-
Confirm ingress protection (IP rating)
-
Check earth continuity for armoured installations
-
Inspect for visible damage or loose components
Common Installation Mistakes to Avoid
-
❌ Using the wrong gland type for the cable
-
❌ Over-tightening or under-tightening
-
❌ Incorrect sequence of gland components
-
❌ Poor cable preparation or incorrect stripping of cable
-
❌ Forgetting to earth the armour
What Makes Hawke Glands Different?
Hawke’s range of cable glands are globally recognised for their robust construction, Ex-rated safety, and easy-to-install designs.
Whether it’s Ex d (flameproof), Ex e (increased safety), or Ex nR (restricted breathing), Hawke has a solution that safeguards your installation integrity—whatever the environment.
Need Support Choosing the Correct Cable Gland?
At Thorne & Derrick, we help you get it right the first time. As trusted Stockists & Distributors of Hawke cable glands, we provide:
-
Technical support
-
Product selection advice
-
Same-day dispatch for stocked cable gland items
Contact our team today or explore our full range of Hawke cable glands.
![]()
Further Reading
-
 Hawke Cable Glands Catalogue
Size: 10.11 MB
Hawke Cable Glands Catalogue
Size: 10.11 MB